Shooting with backlight: a guide to making it gorgeous, by Hannah Mann
As someone who was born and raised in southern California, I’m sure you aren’t surprised that I LOVE sunshine. I lived in Pittsburgh for two years, which right on par with Seattle for cloudy days – and let’s just say that those two years were very difficult for me! On the other hand, no matter how cold it is, if I have sunshine I am good to go. Thank goodness Boise usually delivers on this haha!
Obviously, like the majority of photographers I talk to, my favorite light to shoot in is sunshine – I’ll work with cloudy days, but sunshine is what makes magic in my world. I love beautiful golden beams in my photos and I love that sunshine feels warm, joyful, and romantic!
However, when trying to create gorgeous, sun-soaked images, it’s really easy to end up instead with washed out images full of blown highlights and mediocre skin tones – and, sadly, no amount of editing can really fix that.
Thankfully, whether you shoot film or digital, it really IS possible to create dreamy images full of sunshine, while maintaining great skin tones and beautiful highlights! Below are my favorite tips & tricks for shooting with backlight in the most beautiful way possible.
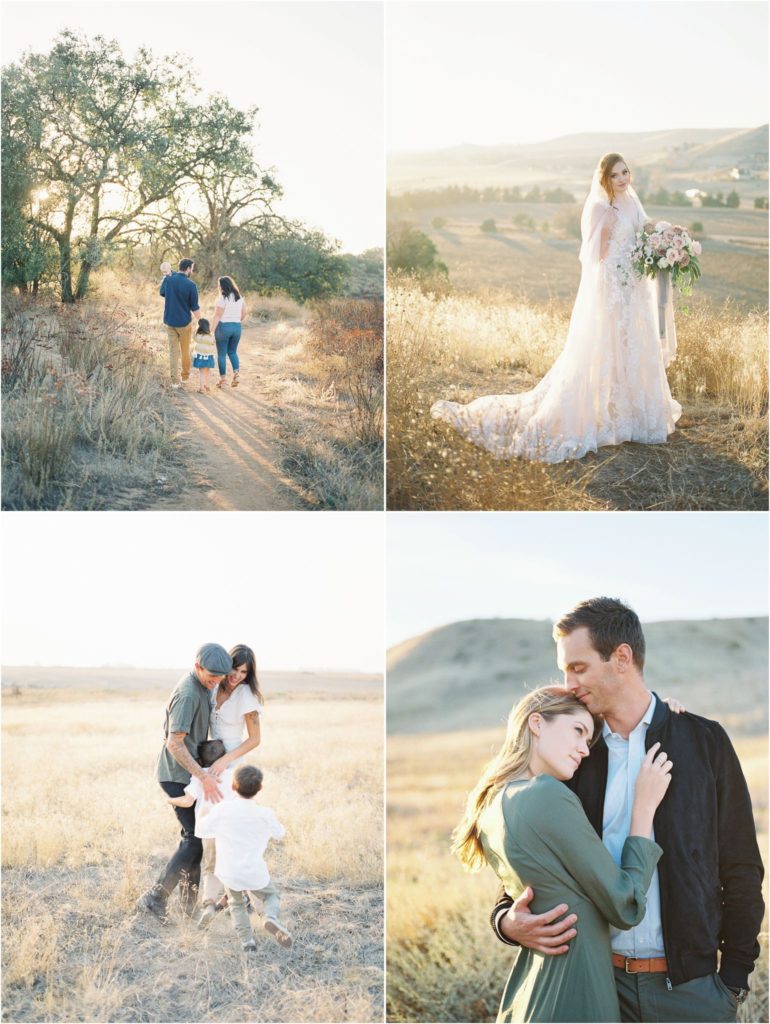
1. Try a 45 degree angle
My go-to angle for sunlight is placing it just out of frame, which puts it at roughly a 45 degree angle behind my subjects. Instead of directly behind them, where I get lots and lots of lens flare that I don’t actually want, placing it just out of frame means I get all of the light without going totally overboard. You’ll notice that in many of my sunshiney photos, my clients’ shadows are pointing to one of the bottom corners of the image. Just make sure that you don’t angle the sun so far to the side that you’re getting bright light on the sides of your clients’ faces, which makes for really unflattering highlights! In all of the images below, the sun was very close to being in the frame but was just outside of it.
2. Filter it
I love sunshine peeking through the leaves of a tree. And there are other ways to filter bright sunshine as well, for example, using one of your subjects to block some of the harsh rays. Filtering light isn’t quite the same as shooting in shade – what I’m talking about here is filtering the sunshine just enough to make it usable, but still let some bright beams through. Deep shade can be really bland, but finding that spot where you’re just barely between the sunlight and shade is usually where it starts to be just filtered enough to not overwhelm while it’s in your frame, but still bright enough to really add some glow. In the images below, the light is being just barely blocked by the sand dune, trees, or subjects.
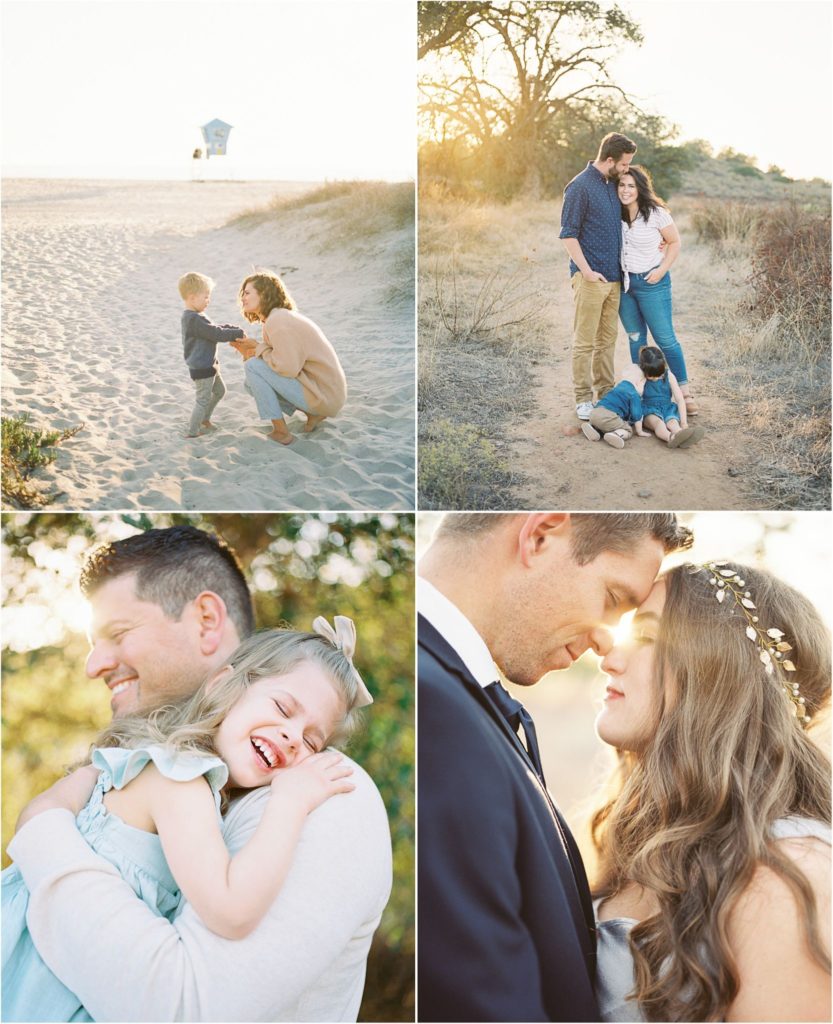
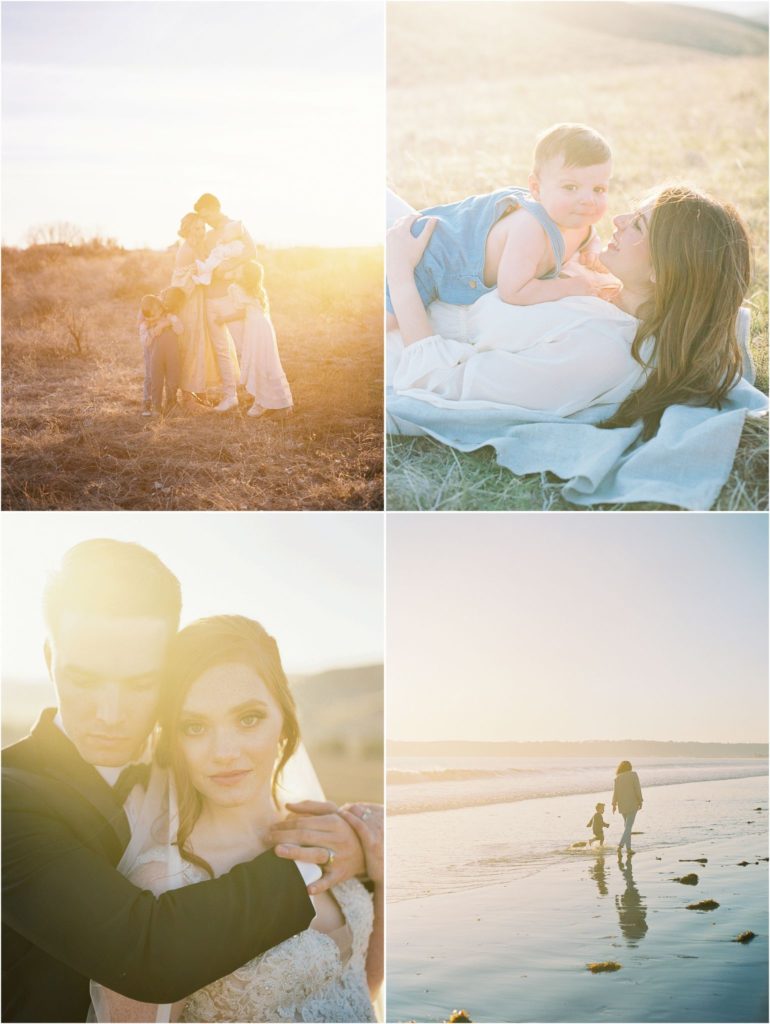
3. Wait for *almost* sunset
We all know about golden hour and how great it is to shoot in, but I’m getting even more specific than that. The time when the sun is low enough that you can almost look right at it is very short lived, and also very magical. It’s the perfect time to let the sun back into your frame for the warmest, glowiest (is that a word?) photos. It’s these few minutes, just before the sun dips below the horizon, that create the kind of thick light that you swear you could reach out and touch. In these photos, the sun was just minutes away from dropping below the horizon. Some humidity in the air also really adds to the thickness of the light, like the two top photos which were near the coast in CA, versus the bottom two which were in the mountains in ID.
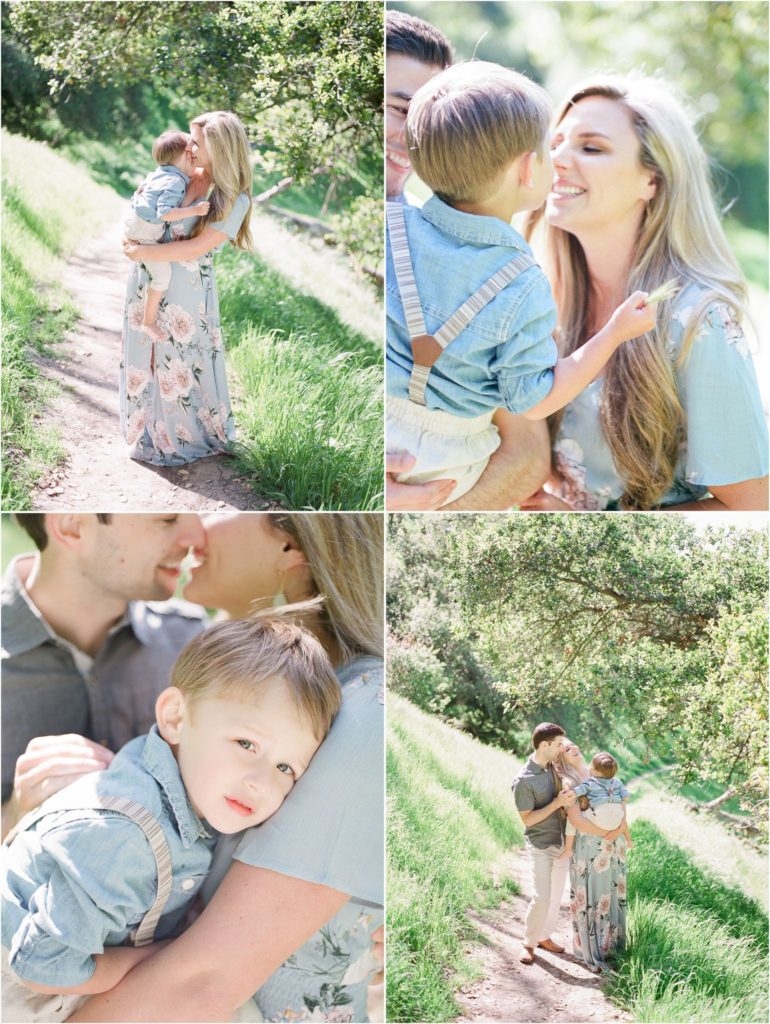
4. Watch your reflections
The ground and surrounding plants/buildings/clothing/etc. are all reflecting light back onto your subjects – hence why photographers love neutral clothing and surroundings (like dried wheat or white sand!). When it comes to bright green grass, or the very yellow dried plants and fall leaves, or the client who really wanted a bright outfit, the color casts from bright backlight can be a nightmare. My favorite solutions are simply looking for a more neutral ground (i.e. dirt or sand instead of grass, leaves, or yellowy field), or placing a white reflector in front of your clients but out of your frame so that white light shines back on them. I don’t use my reflector often, but I did exactly that trick for the session below. I had to shoot at a time of day when the sun was brighter than I preferred, plus it was spring when the CA wine country grass was out of control neon green. That reflector saved me!
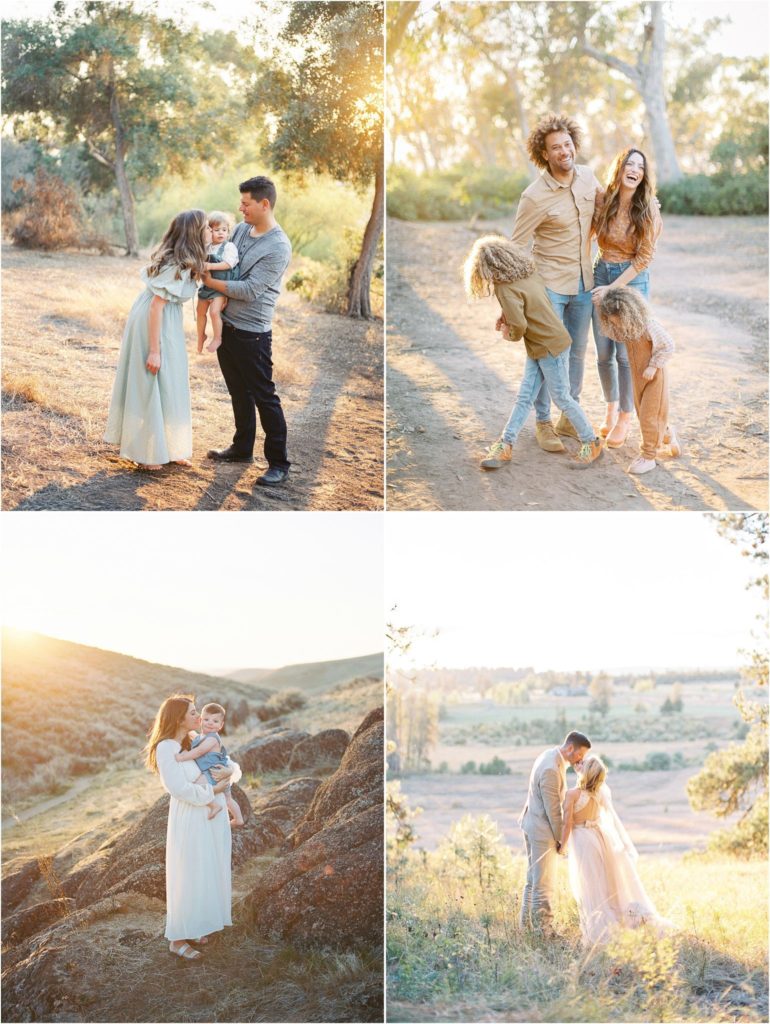
5. Break the rules
I’m a big believer in breaking the rules every so often, and this one is no different! Sometimes the rules don’t lend themselves to your vision, and if that’s the case, then ditch them! When shooting with backlight, remember that bright sunshine directly in your lens will wash out your image – and then use that to your advantage to create some magic! Each one of these photos is somewhat washed out by “too much” sun, and I LOVE every single one! I was still careful to not let too much sunshine directly in my lens, but I did let a few rays right at it.
Happy experimenting, friends! Shooting with backlight is an all-time favorite and I know you can master it with these tips and a little practice!
Shooting with backlight: a guide to making it gorgeous, by Hannah Mann
P.S. I know that even with the right information in front of you, it can still feel really tricky to put it into practice. If you’re interested in learning more, I have all the resources you need! From my education shop, to mentorships, to group coaching and more in between, I promise to deliver education that is transformative: I’m here to equip you with the skills you need to thrive!
I have worked with so many photographers of all skill levels, and it is such a joy to me to help others make real changes in the way they shoot and the quality of the work they produce.


+ Comments